Sub Account
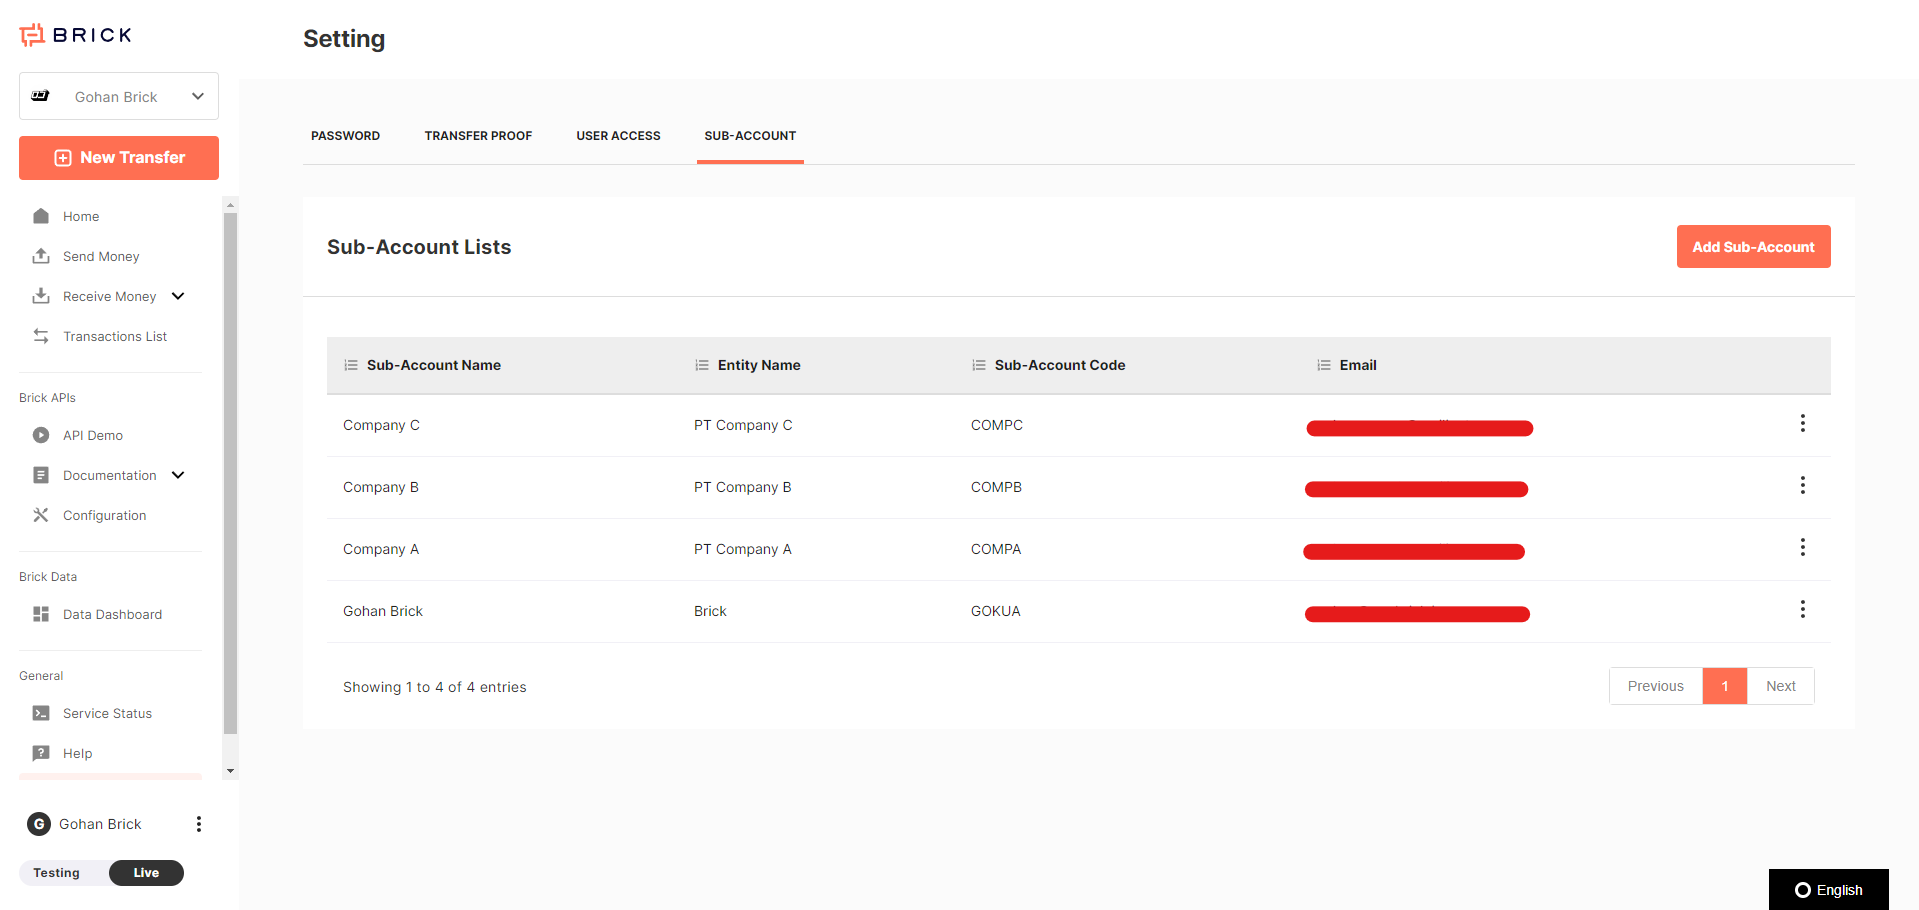
You can manage multiple accounts under your main Brick account using Sub Account feature in the Brick Dashboard. To start creating new sub account, go to Settings page in the dashboard and click on tab Sub Account. After create a sub account, you can switch between your main account to another sub account using dropdown switcher at the top left of the dashboard.

Why you need to use sub accounts?
- You are a business that managing clients' data. Company like payroll service, agency, or leasing company managing part of operational process of their clients. These type of companies need to make sure that data of each of clients separated so you can reconcile the transaction easily and create reports separately for each of the clients.
- You are a business with multiple entities. You are company that have office in multiple cities, each city can have different employees, different rules, different name or logo. You can setup the sub account with these custom things inside one dashboard login.
Specification
- Each sub account will have separated data, like balance, top up number, historical data, and also API credential.
- Relation between sub accounts are siblings. That means the data from UI is independent, for example when you are in Main Account you only able to see data on main account and when you switch to sub account "Company A" you only able to see data on sub account "Company A".
- Each login role can access all sub accounts. That means if you are member in one Brick account, you can access all sub accounts in that Brick account.
- Sub account feature currently only accessible via dashboard.
API usage guidance
For example you are a payroll service company and you want to setup a payment system for your 3 clients called Company A, Company B, and company C. These few things below are step that you need to prepare to setup the integration :
- Create sub account for each of your clients, in this case you want to create 3 sub accounts.
- In the dashboard, you are current select Company A as active sub account in the dropdown switcher. Go to menu Configuration and click tab API credential. You will able to see
client_idandclient_secretfor your Company A and save it. - Since this payment API using asynchronous mechanism, you also need to setup your callback URL. You got to the Configuration page tab Callback URL, put your callback in the Disbursement Callback URL field and click save.
- Do step number 2 and 3 for another other sub accounts that you have.
- At this point, you can start integration in your system and pair each credential to your client data. If later you have new client, you can create new sub account inside Brick dashboard and get the new credential and setup callback for it.
- Additionally, before doing transfer process of course you need to top up your balance. In this case, each sub accounts will have different balance. So you need to top up balance for each of it.
- Each sub account will have separated virtual account number (static and open), meaning number will not change and can top up whatever amount you want ranging between Rp10.000 to Rp500.000.000 per top up. You can take the VA number from the top up page, save it, and use it inside your integration journey.
- When you are in testing mode, you actually can use add balance feature in the homepage to top up the dummy balance money.
Updated 4 months ago
